
Knowledge Base > Salesforce > Settings – adding inwise modules – campaign control
Edit campaign page layout:
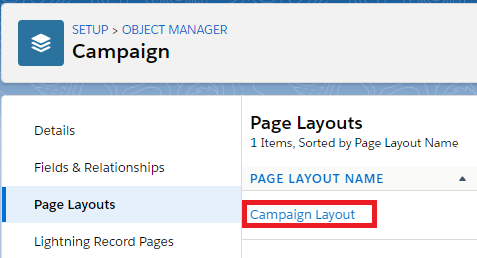
Classic interface – When entering a new/existing campaign click ‘Edit Layout’

Lightning interface – In the menu bar on the right side of the screen, Navigate to Setup -> Objects and Mields -> Object Manager – > Campaign -> Page Layouts
Continued settings for both interfaces:
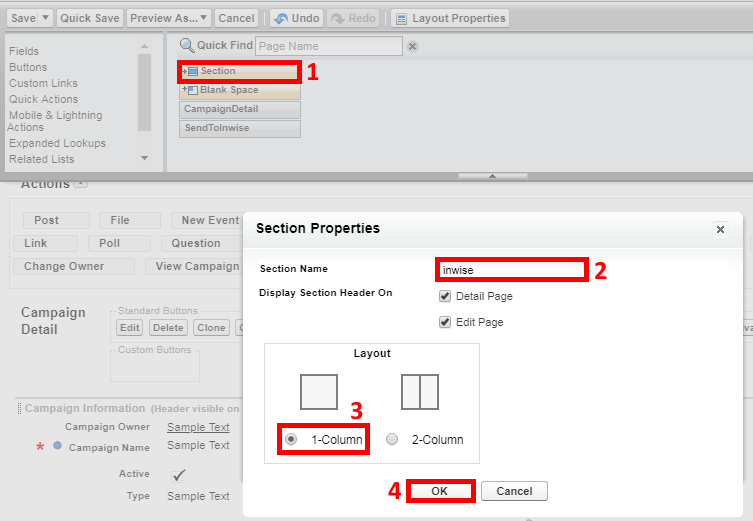
1. To add a new section, drag the section block to the green area of the screen.
2. In the ‘Section Properties’ panel, we will define the new section name, for example – inwise.
3. Select a section with one column (Layout -> 1-Column)
4. Press OK to confirm.
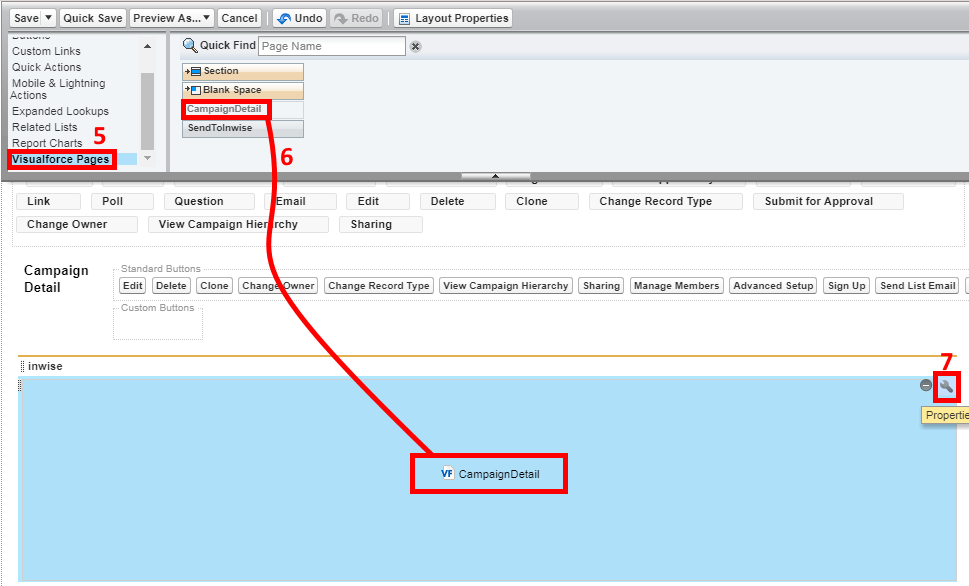
5. Click the ‘Visualforce Pages’ category.
6. Drag an element named ‘CampaignDetail’ to the created section.
7. Hover over the new element ‘CampaignDetail’ and click on the “Properties” icon to define the dimensions of the module ![]() .
.
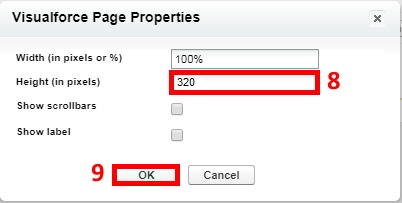
8. Insert the value 320 in the ‘Height’ field.
9. Finally, click on “OK”.
Now, we’ll add inwise campaign member fields to the campaigns page layout.
On the same campaign editing layout page, scroll down until you reach ‘Campaign Members’.
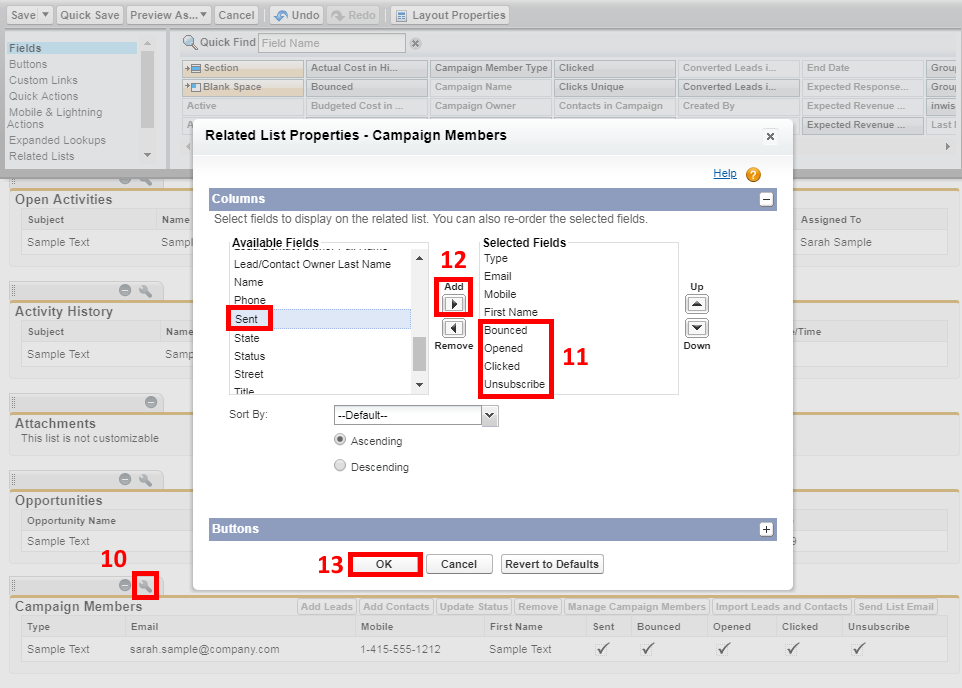
10. Above the ‘Campaign Members’ header, click the “Properties” icon.
11. Move the five indicator fields of inwise: Sent, Bounced, Opened, Clicked, Unsubscribe – from the left pane “Available Fields” to the right pane “Selected Fields”
12. To do this, select one of the fields each time (e.g. – ‘Sent’ and press ‘Add’)
If there is no space in the list, you can remove irrelevant fields by clicking the Remove button
13. Click OK to confirm.
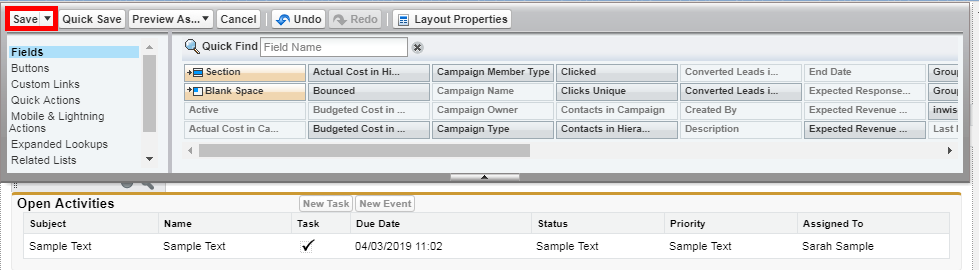
15. Click Save to ‘Save’ the campaign page layout changes.
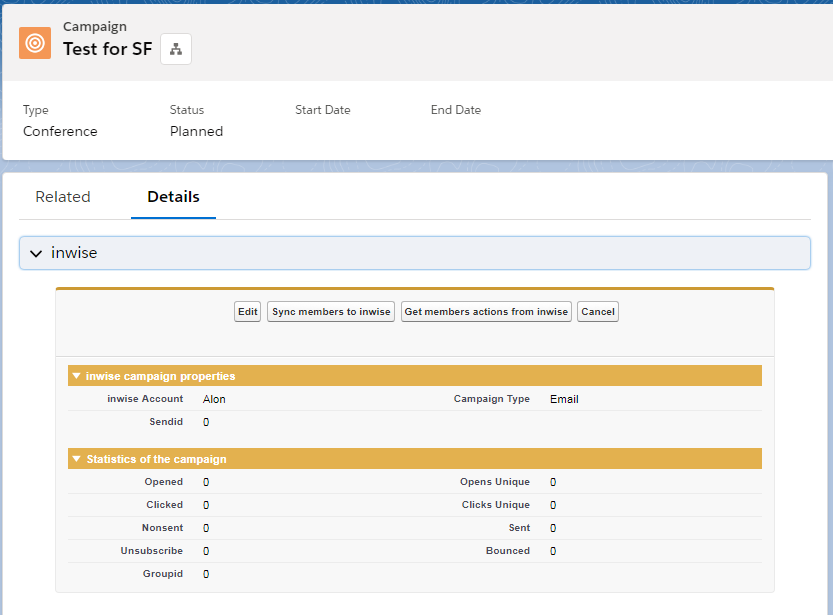
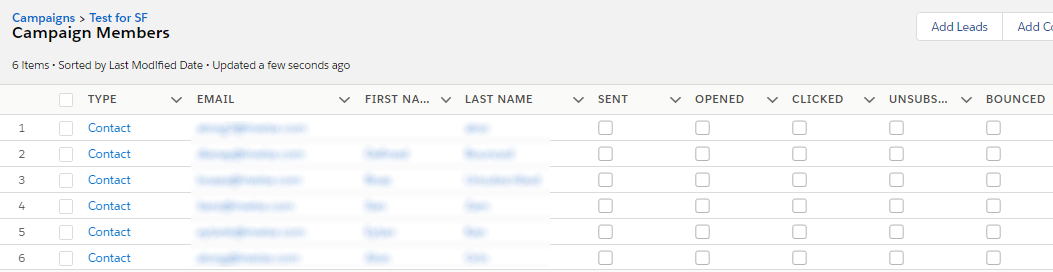
After completion, you will be able to see the inwise module on the campaign page and the inwise fields with the campaign members.
What next: Synchronizing campaign members to inwise and receiving analytics