Knowledge Base > Other > Media area
Here, you can upload different files and images in any format and edit them.
You can upload media files to the media area in different formats, such as BMP, PNG, GIF, JPG, etc.
We recommend only uploading images up to 800kb, but the system supports images up to 1.5MB.
* The size of the image affects the length of time it takes for it to download to your computer or phone.
Abiding by these conditions will make your editor’s job much easier, and it will guarantee optimal visibility of the mailing in all portals.
Upload Images
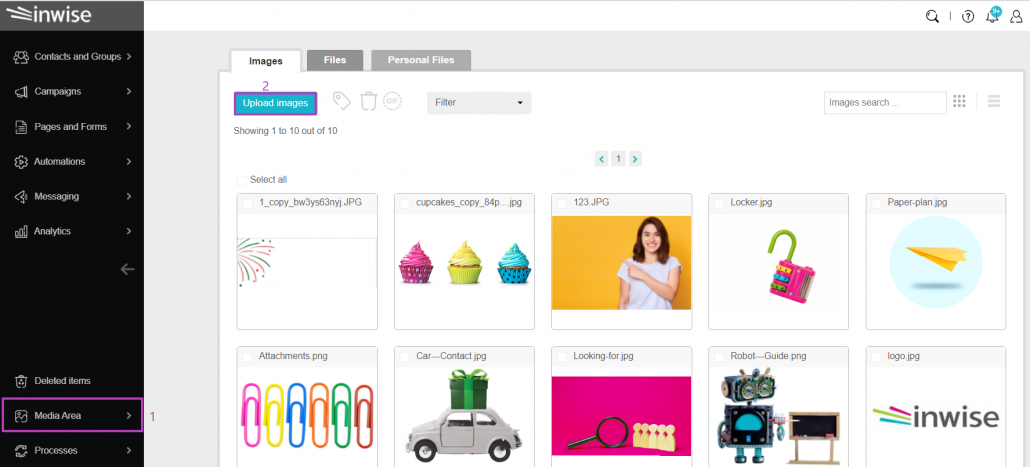
After logging into the system, click on the “Area Media” on the black menu bar on the left side of the page (1).
Select “Upload Images” (2).
On the panel that opens, you can choose from the following options:
Import from URL (1)– Upload image from URL.
Browse (2) – Upload single or multiple images located in a folder on your PC.
Image dragging (3) – Drag the image from a folder on your PC directly to the Media area.
After selecting the image or images, the system will upload the files. 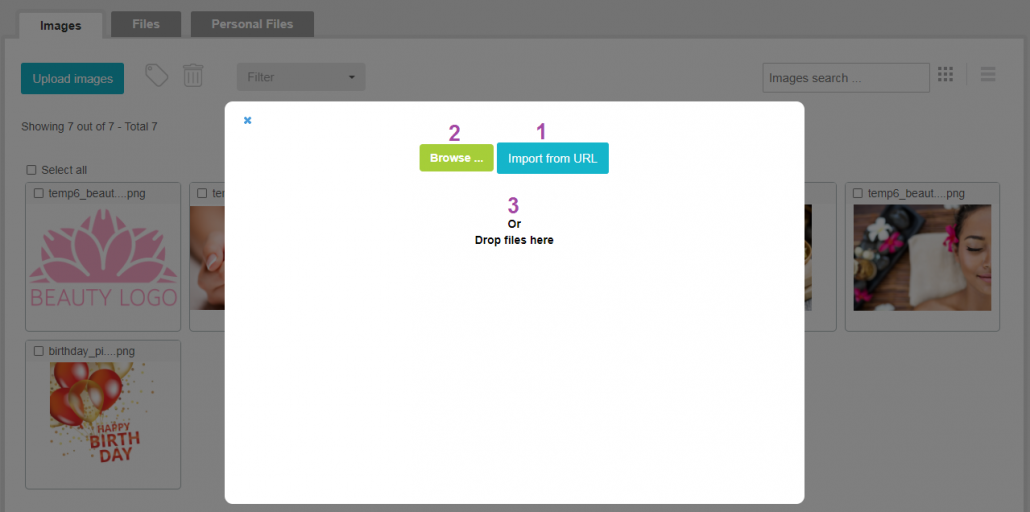
Create Animated GIF
In the media area, you can create a GIF file (a short video file that runs in the form of a loop that transmits the message in an animated way).
Select the relevant images by checking V, and clicking on the GIF icon. You can change the speed settings for each image in seconds.
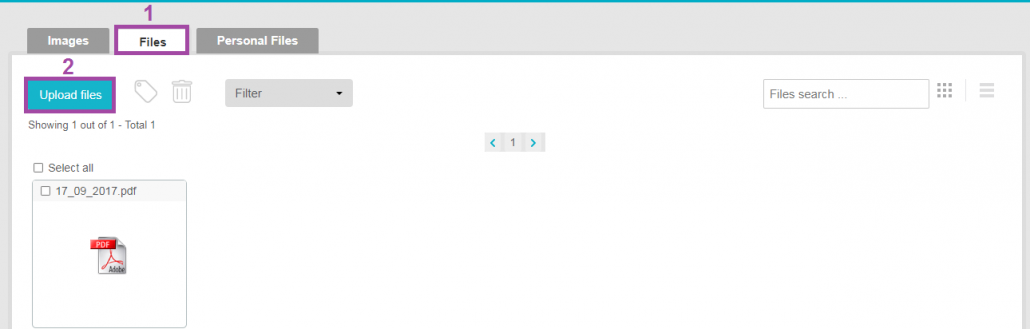
Upload Files
You can upload files in different formats to the inwise media area, such as PDF, HTML, WORD, XLS, ICS (iCalendar format) and more.
Go to the media area, navigate to the “Files” tab (1) and click on the “Upload Files” button (2).
In the panel that opens, you can click “Browse” to upload a single file or several files at the same time by holding down the CTRL or Shift key and selecting the files.
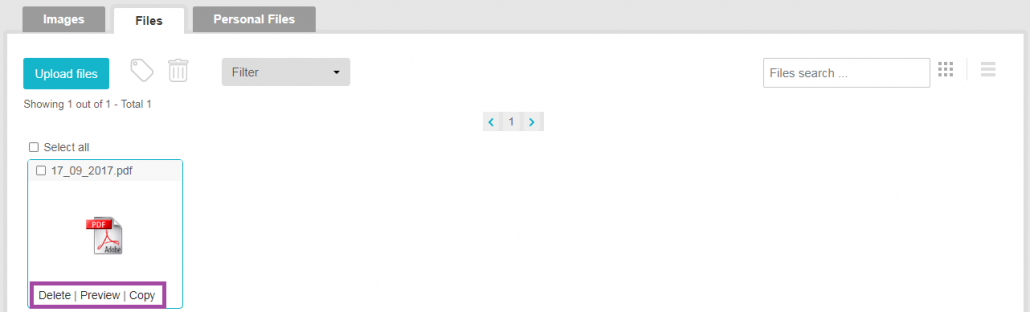
When you are holding your mouse over the file, you can select one of the following three actions:
Delete – Delete the file from the media area.
preview – Preview the file link, which allows you to copy the link and link to a relevant place when editing the mailing
Copy – Copy the file. View the file’s link, which allows you to copy and then link it to an image, button, or text component while editing a mailing or landing page.
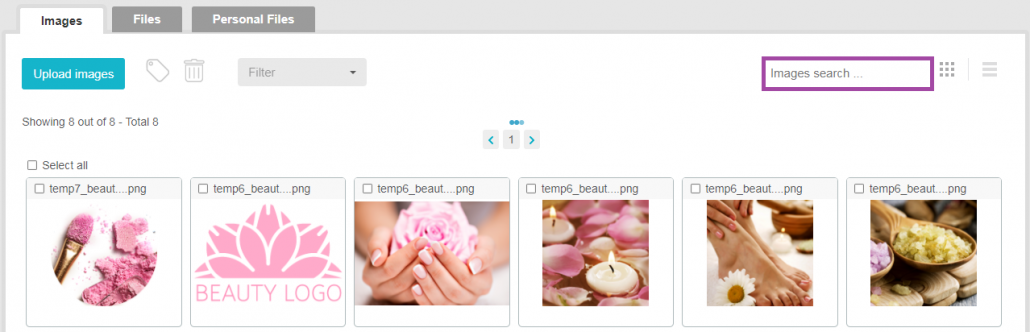
Search for an image or a file
To search for an image, click on the “Images” tab and type the name of the image into the search box.
To search for a file, click on the “Files” tab, and type the name of the file into the search box.
Sorting and tagging files
You can sort and filter images and files in the media area by tagging them. This sorting allows for easy orientation and convenient system operation. To tag an image or multiple images, highlight the relevant images (1-2) and click on the tag icon (3).
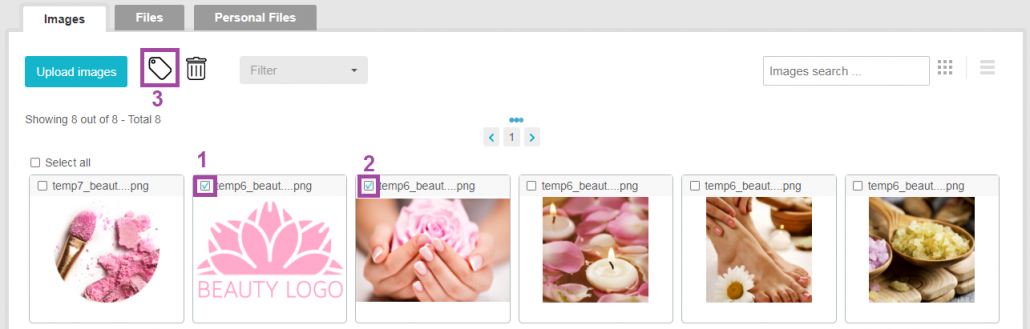
In the panel that opens, you can add the image(s) to an existing tag or create a new tag.
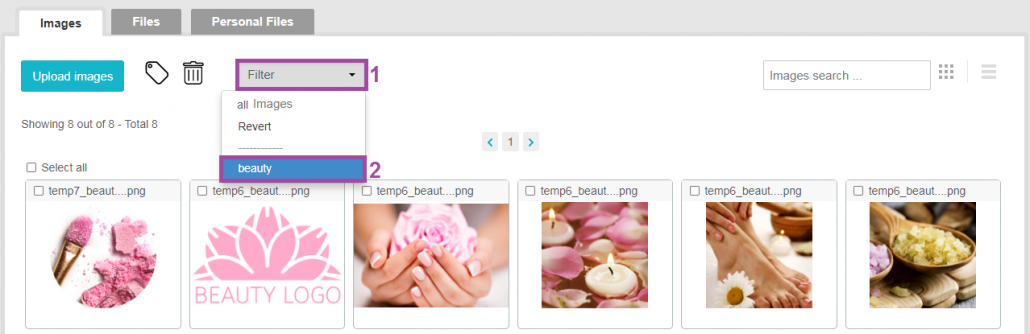
To view the filter you created, click on the filter field (1) and select the name of the desired tag (2).
View images and files
You can arrange the images or files in the media area in two ways:
Big icons (Button 1)
List view (Button 2)
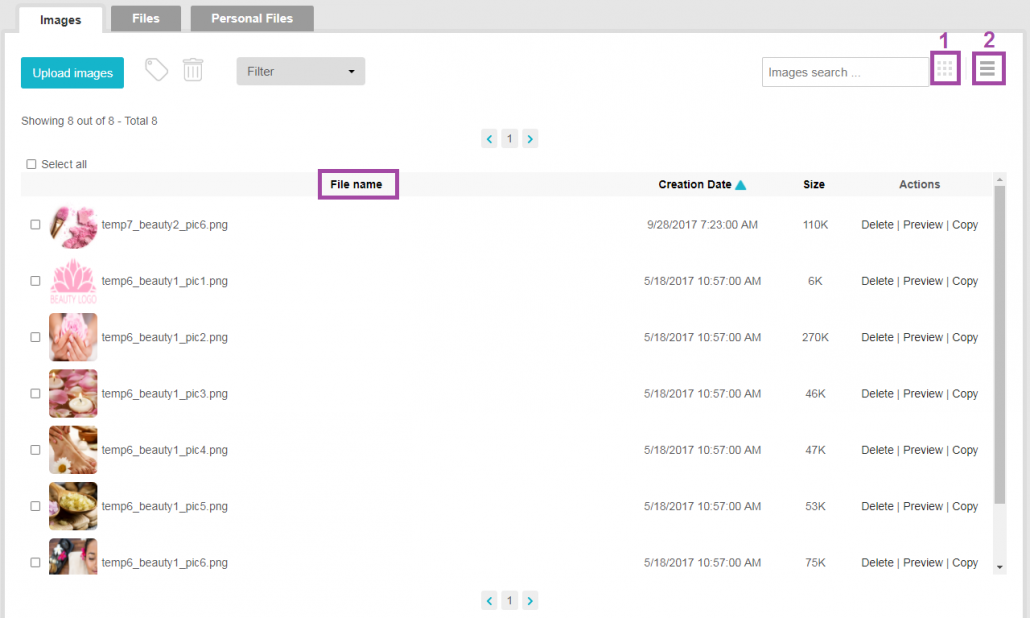
To sort the images or files on the list, click the list button, and then sort by file name, creation date (the date the image was uploaded to the system), or image size by clicking on the relevant title.
Link a file from the media area to a mailing or landing page
When editing the mailing or landing page, select the relevant component to which you want to link the text, image, or button file, and then click on the small “Edit component” pencil icon next to it. (Alternatively, you can click on the relevant location.)
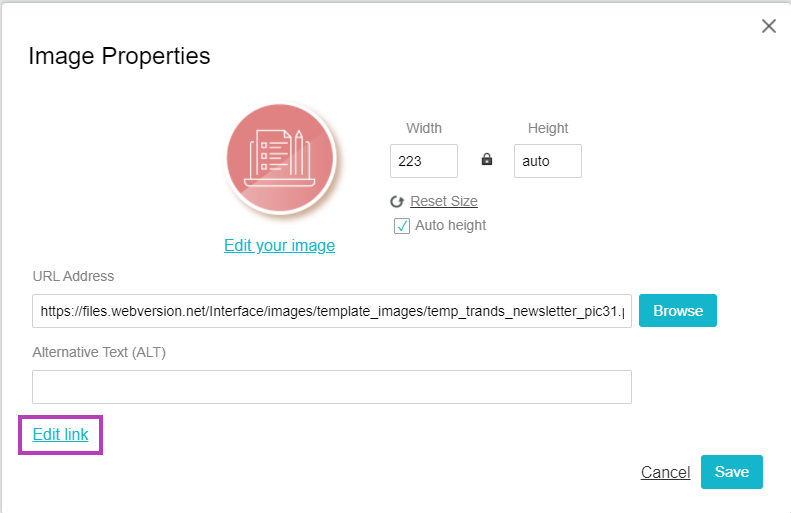
To turn an image into a link:
Click on the image, and in the panel that opens, click on “Edit link”.
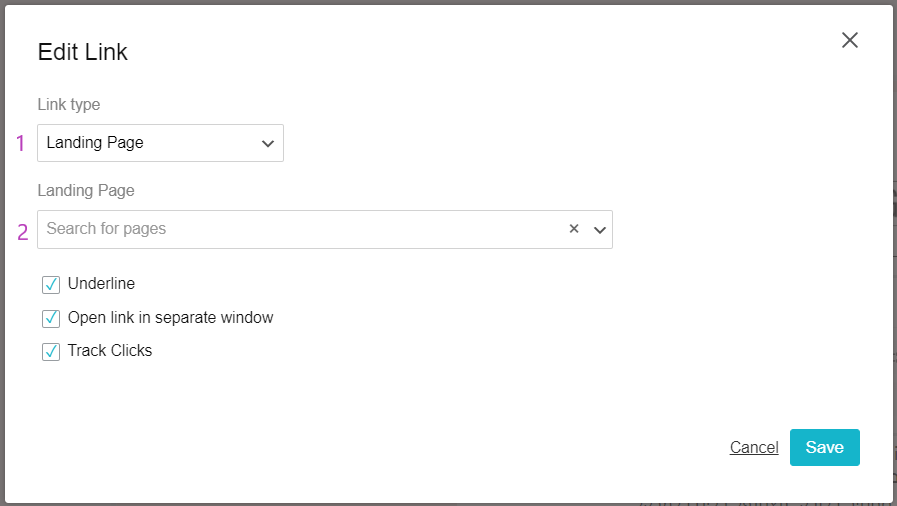
In the “Link Type” field, select “Landing page” (1). And choose the landing page which you want to link (2).
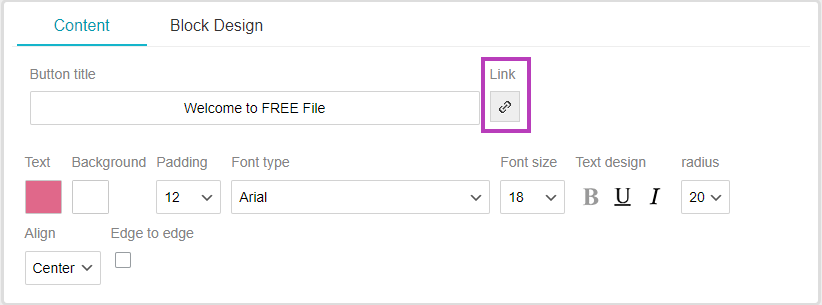
To turn a button into a link:
Click on the button which you wish to create the link. On the formatting menu that will open click on the link icon.
On the panel that will open, in the “Link Type” field, select “Landing page”. And choose the landing page which you want to link (2).
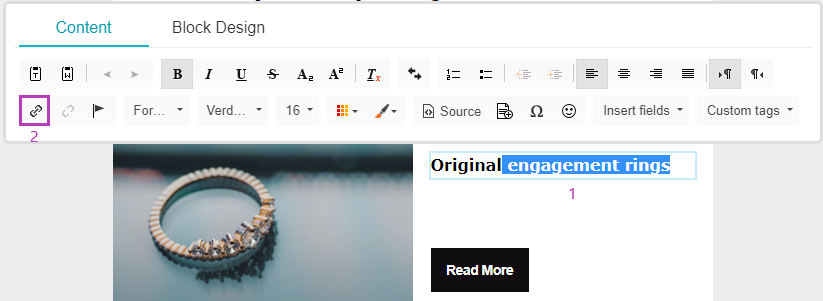
To turn text into a link:
Select the relevant text (1), and in the menu that opens, click on the “Link” icon (2).
On the panel that will open, in the “Link Type” field, select “Landing page”. And choose the landing page which you want to link (2).