Knowledge Base > Campaign > Pages and forms > Adding Links (Navigate, Calendar, WhatsApp etc.)
How to add a link?
- First, choose the element on which you would like to insert the link (text, button, or photo).
- Edit the link – Define where the link will direct the user after clicking it.
*Adding and editing links takes place during the editing of the campaign, landing page, pop-ups, or signup form.
Step 1 – Choose the component you wish to link
- Link a text
Mark the text from which you wish to create the link. On the formatting menu that will open click on the link icon .
.

- Link an image
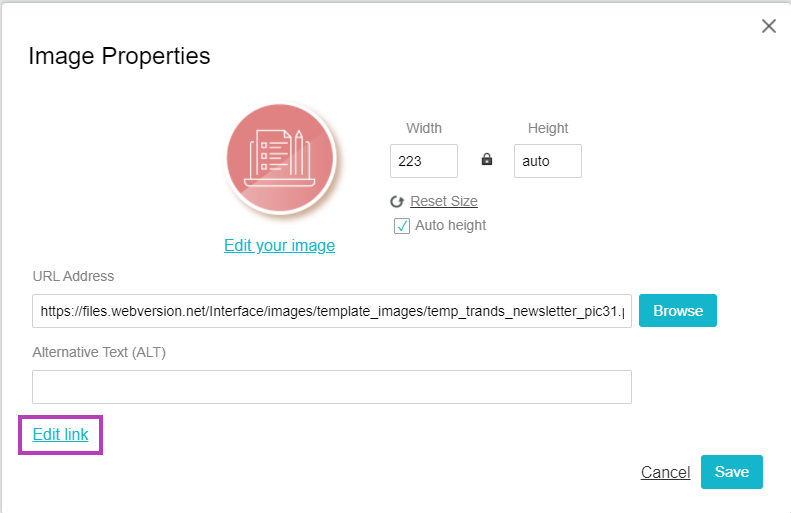
Click on the image, in the “Image Properties” pane, click on “Edit link”.
- Link a button
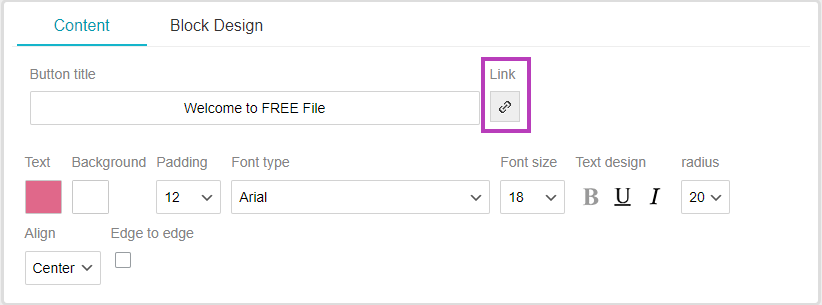
Click on the button which you wish to create the link. On the formatting menu that will open click on the link icon.
Step 2 – Where does the link direct the use?
Now you need to edit the link, define where it will direct the user. Meaning, what will open after clicking the element you defined above.
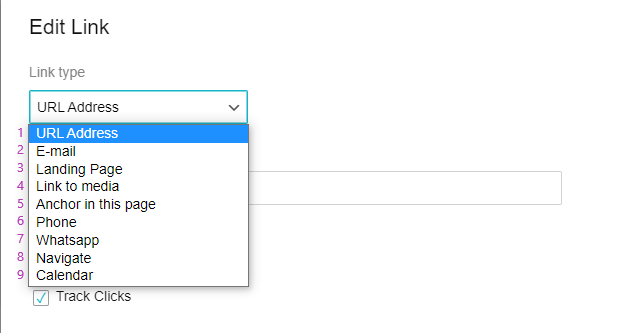
1. A URL address – For the link to direct to a website, for example, your home page, update the relevant URL address.
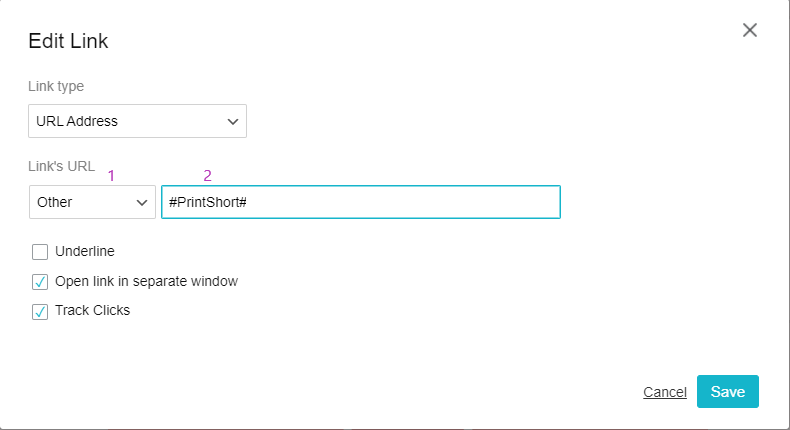
* You can also link tags of common action, for example: send to print, share with a friend, etc. For that, you need to choose “Other” in the protocol field type, and write the relevant tag in the URL field:
Send to friend: #ShowSendToFriendsFormShort#
Unsubscribe: #Unsubscribe#
Click if cant see: #clickIfCantSeeLink#
Print: #PrintShort#
Abuse report: #AbuseReportShort#
Update contact details: #RecipientUpdateStartProcessShort#
Accessibility: #AccessibleVersion#
2. Email – By clicking on the link, the email software will open (the default software as defined by the user).
In order to do that, use the field to insert the email address through which users can contact you.
You can also pre-define the subject of the message and the text in the received message.
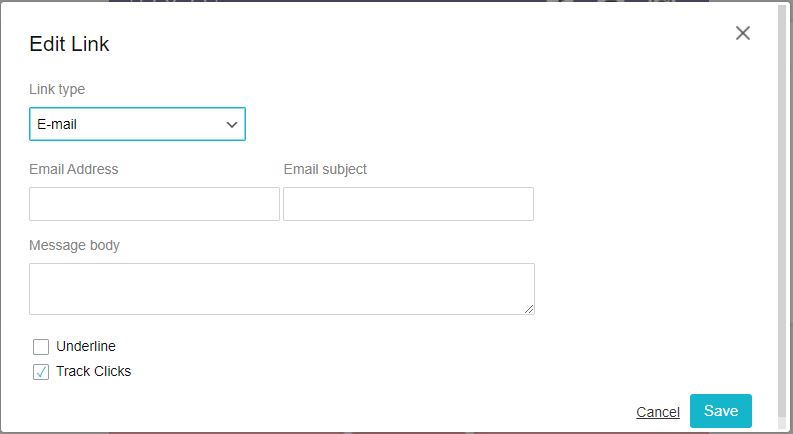
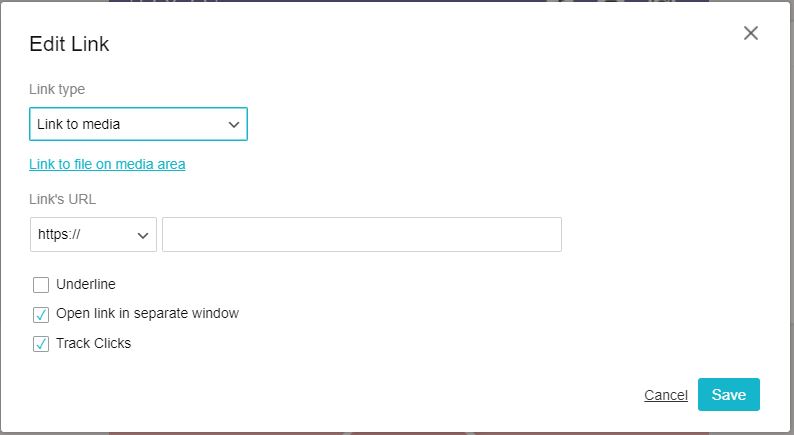
4. Media – Link to a document, photo, or short video. In case the file has a URL address, you can update the address directly in the address field.
If not, you can upload the file to the media area (the media area guide) and choose the relevant file.
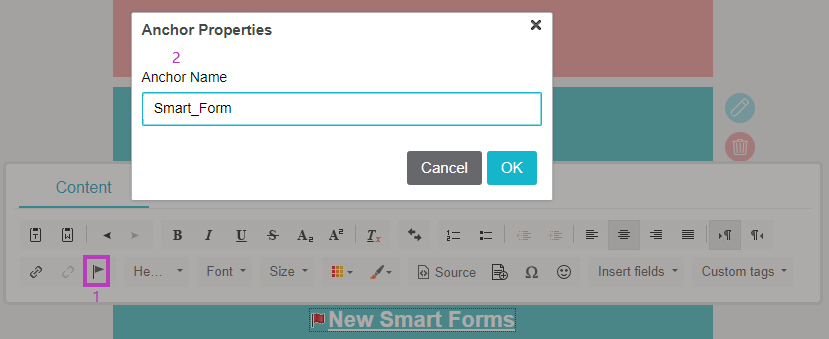
5. Anchor on that page – You can create a link to a different place in the mailing or the landing page. In order to do so, create the anchor point to which you would like to lead your users:
Mark the text that will be used as the anchor point (to which the link would direct).
On the formatting menu that will open click on the anchor icon (1) > in the “Anchor Properties” panel enter the name for the anchor point (2).
Now go back to the link editing panel and choose the anchor you’ve created.
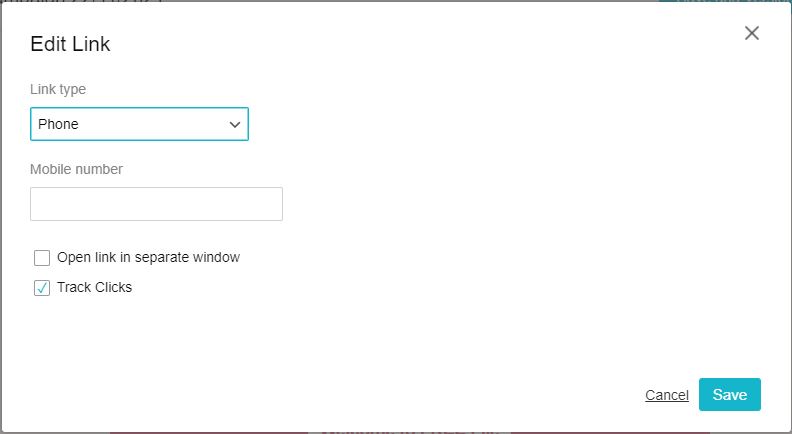
6. Phone – In case the mailing/landing page is viewed on mobile phones, clicking on the link will open the dialer with your phone number.
Just make sure to update the relevant number to which you wish contacts will dial.
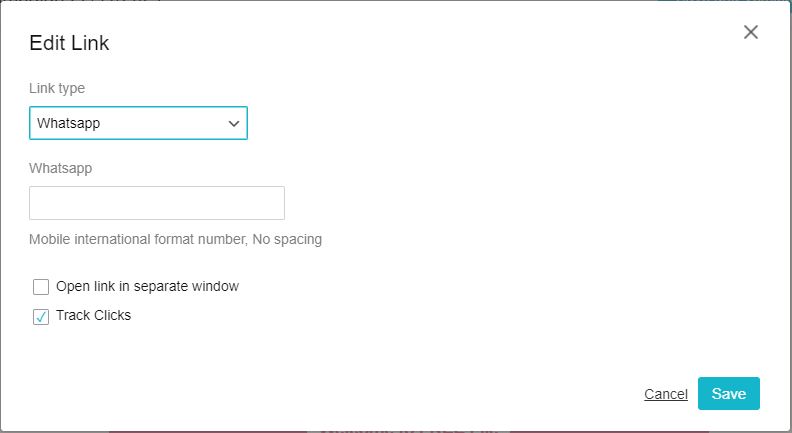
7. WhatsApp – Clicking the link will open the WhatsApp application with the relevant destination.
Type in the WhatsApp number through which you would like to be contacted.
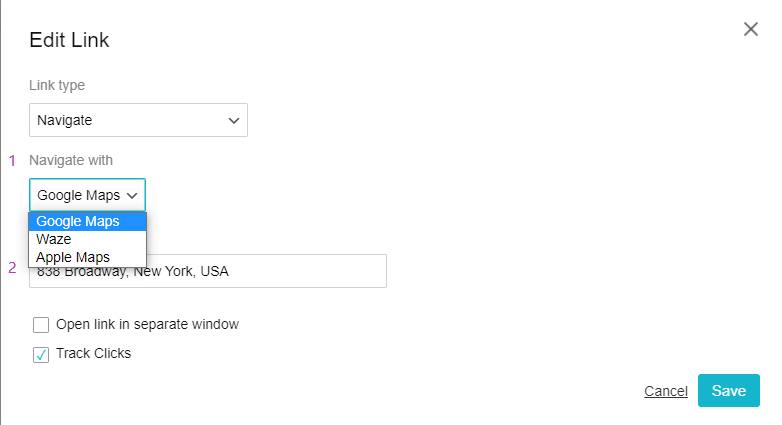
8. Navigation – You can add an automatic navigation link to one of the navigation apps: Waze, Google maps, Apple maps.
Choose the relevant app (1) and update the destination address (2).
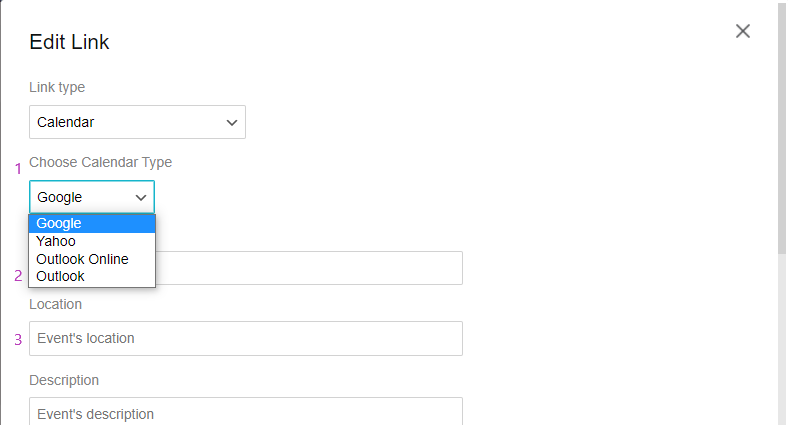
9. Calendar – In order to make sure your contacts don’t forget the date of the event/activity you’ve scheduled, you can add automatic sync with their calendars.
Choose the type of calendar (1) and define a name or the event (2) for example: “Webinar – How to work less and make more”.
In order to make sure this feature works for all your contacts, it’s best to attach links to all 4 types of calendars.
Adding a link tool saves actions for your contacts (instead of adding the event to their calendar by themselves, dialing a phone number in order to call you, etc.) and will help you promote the action you wish for them to perform.
