
Knowledge Base > Campaign > Personalization – in the email header, body and “To” line
Personal contacts can be added in several places:
- Email body – Include the contact’s first name in the email body to make the recipient feel that he is receiving a personal message.
- Subject line – The subject line is one of the first fields recipients see before opening the email, so addressing your contact by his first name and/or adding a few personal words such as “Happy Birthday” will increase the chances that he will open your mailing.
- A “To” line in an email is another way to address your contacts personally.
preliminary step – Checking contact’s personal information fields
This feature depends on the information contained in the contact’s fields in your account.
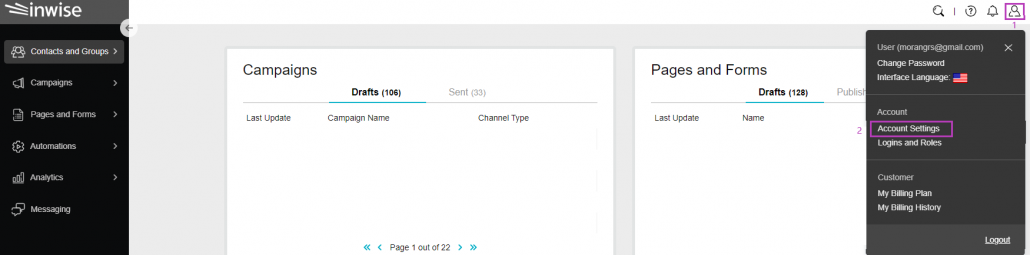
In order to view the definition of the fields, click on the little man icon (1), then select “Account Settings”
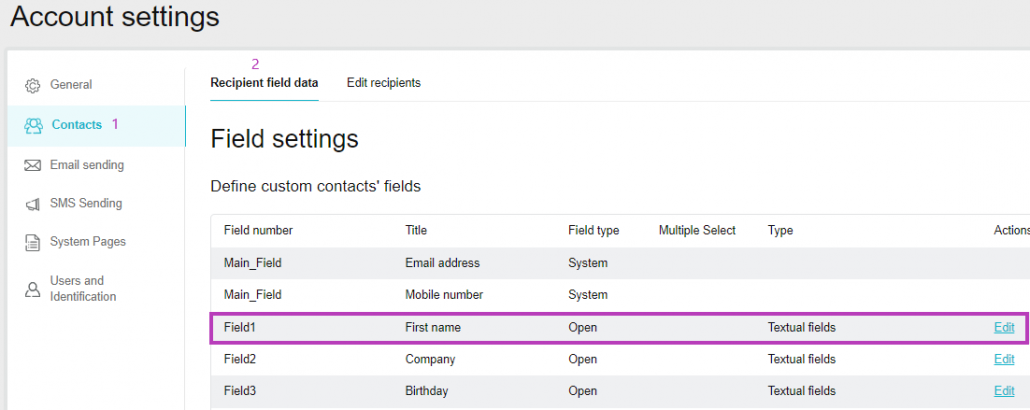
In the sidebar click “contacts” and in the top bar select “Email campaign”.
In this example, “field1” is defined as a First name.
You can find more information about setting up contact information fields in this guide.
Tip: We recommend you to go through all the settings on this page and update them if necessary since these are the default settings for each campaign you will send.
Once the fields are defined, proceed to editing the email campaign.
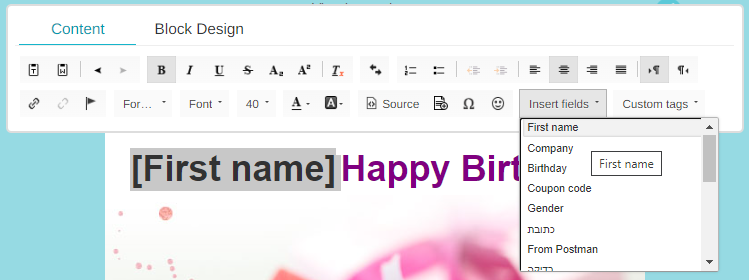
1. Personalization in the Email body
While editing the campaign, stand on the place that you want to add their personal field. In the edit pane, click on the “Insert field” and choose the field you wish to add.
On the “Create an Email Campaign” screen, click “Show Sending Profile”.
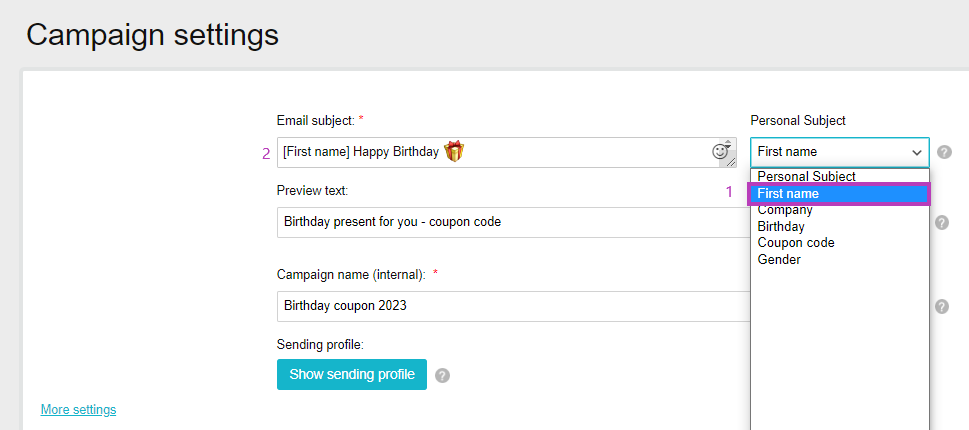
2. Personalization in the subject line
Once you have finishing editing and designing the Email campaign, click “Next” to move to the :Campaign settings” screen
Personal subject (1) – Select which personal field you would like to include in the subject line. For this example, we chose “First name”
Email subject (2) – Enter the text you want your contacts to see in there inbox
While editing, the field name will appear according to the system’s name, but don’t worry, because their first name or the personal information you requested will appear in the email that they receive in their inbox.
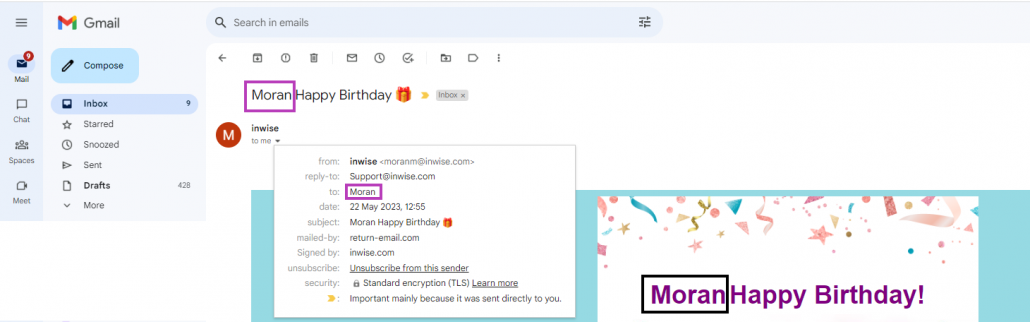
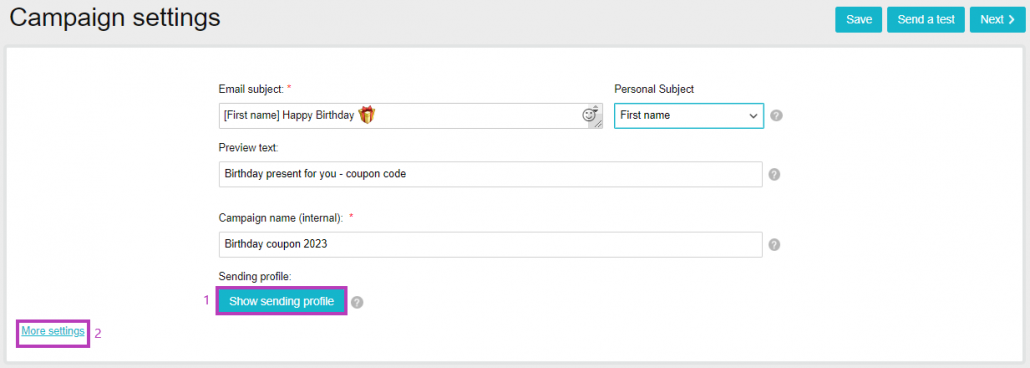
3. Personalization in the “To” line
There are 2 places where yo can update the text for the “To” line:
- Sending profile
- More setting
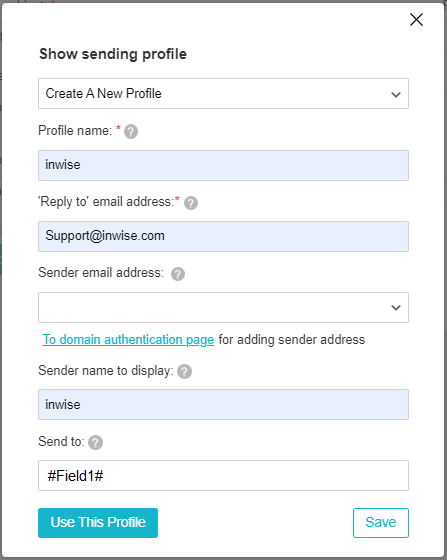
By clicking on “show sending” profiles, a pane will open. In the “Send to (optional)” field, you should type #field# followed by the relevant personal field number (as we determined the numbers of the personal information fields in the preliminary stage). For example, let’s add the first name of the contact, so you should type
*Due to the transition, the system will display the parentheses on the right side. However, you can type the code without concern and enclose it in parentheses. The system will recognize the code.
This code instructs the system to retrieve the data stored in the first name field and use it for each contact.
How? The information between the two hashtag symbols is an instruction for the system to extract data from the field and the number indicates the field number (1).
The test in this guide’s preliminary step demonstrated that field 1 represents the first name field (typically, field 1 represents the first name field).
The following is how the mailing will look in contacts’ inboxes:
In summary, the use of precise and personalized communication enables sending targeted emails tailored to your contacts, increasing the chances of creating genuine connections that ultimately lead to sales.
For more information about personal fields.